You will need one of those neat Ranger non-stick craft sheets or something similar like, my Favorite, Freezer Paper. Wax paper would work also. Ink pads in desired colors, a spray bottle of water, Versamark pen and clear embossing powder as well as Ranger Ultra Thick Embossing Powder and a Heat tool for Embossing.
I printed my image Skelekinz, Aint No Sunshine by Bugaboo Stamps, onto glossy paper and embossed the image as soon as it came out of the printer, more like as it comes out of the printer.
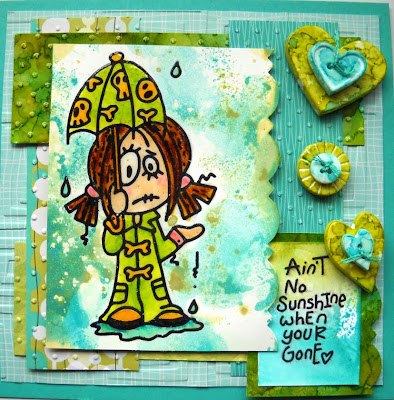 I used a Martha Stewart punch to punch the edge here and I colored the image with Copics markers.
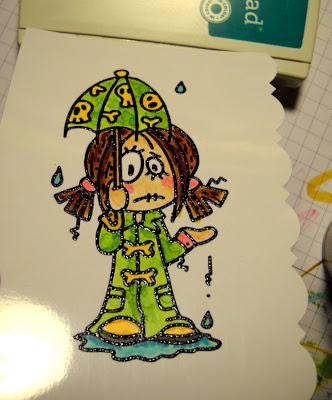
Once the image is dry use a Versamark pen to cover the different sections and sprinkle on 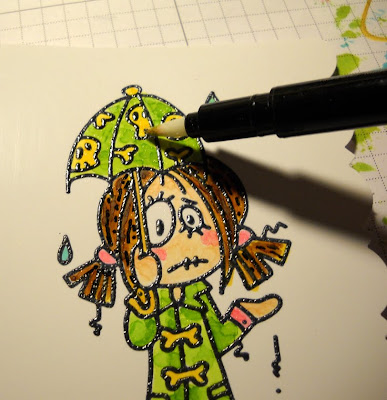 clear Embossing Powder.
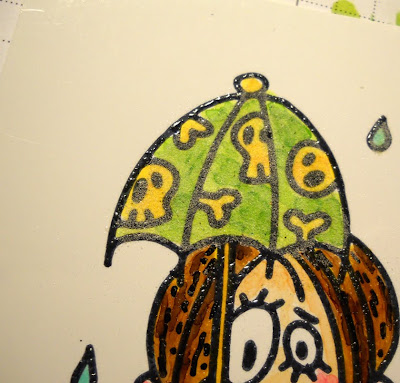 Heat with the Heat tool to set.
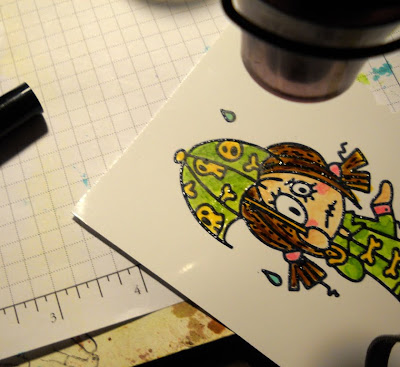
Do the entire image with clear. Onec that is finished use versamark all over the image again and sprinkle on
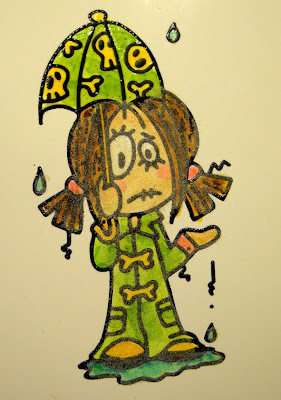 thick embossing powder like the Ranger Ultra Thick Embossing Powder. If this powder sticks to some of the areas outside the image area that is fine and will add to the overall resist effect. You could brush this off if you prefer.
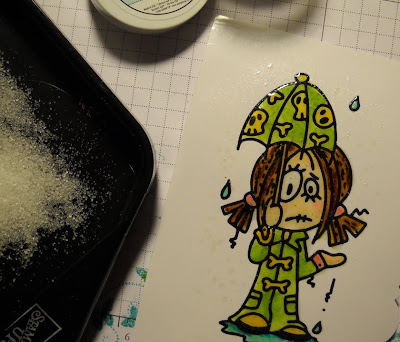
Heat this layer from the underneath side so as not to blow the embossing powder off the surface.
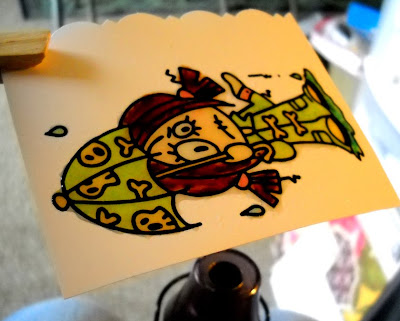
Once you have the image covered with the embossed resist you are ready for the really fun stuff. Here is where the Freezer Paper, ink and spray bottle comes in.
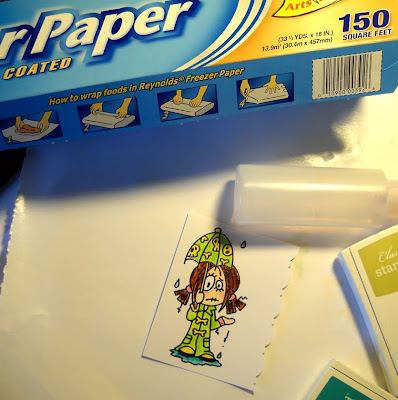 The First Step:
 clear Embossing Powder.
 Heat with the Heat tool to set.
Do the entire image with clear. Onec that is finished use versamark all over the image again and sprinkle on
 thick embossing powder like the Ranger Ultra Thick Embossing Powder. If this powder sticks to some of the areas outside the image area that is fine and will add to the overall resist effect. You could brush this off if you prefer.
Heat this layer from the underneath side so as not to blow the embossing powder off the surface.

Once you have the image covered with the embossed resist you are ready for the really fun stuff. Here is where the Freezer Paper, ink and spray bottle comes in.
 The First Step:
The first step is to smear the ink directly onto the Freezer paper.  Spray the ink with water. You can use as much or as little as you like. The more water the less opaque the ink will be. You can always add more later if you like. You can't take it back off.
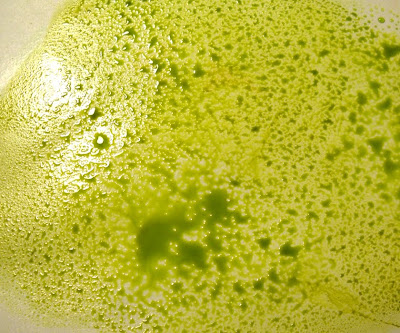 Lay the paper onto the ink and then lift it up.
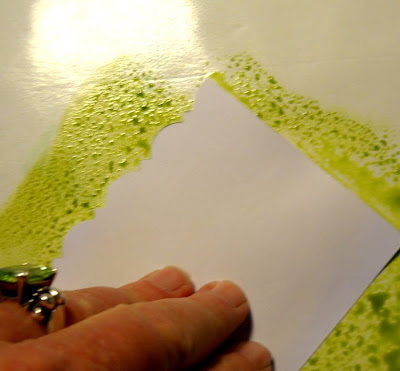
Check the results. If you want to do more you can. What really looks good is to let the first layer dry (you can use a heat tool to dry if you like) and then smooch again. This builds up the ink in layers.
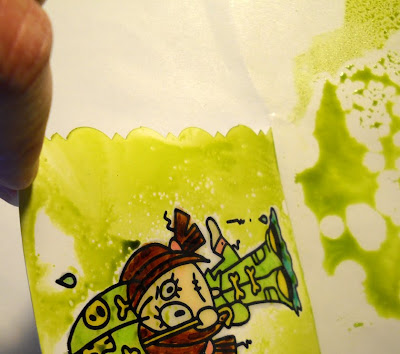
Wipe the extra wet ink from the image itself.
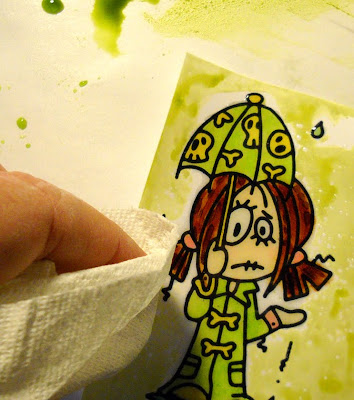
 Spray the ink with water. You can use as much or as little as you like. The more water the less opaque the ink will be. You can always add more later if you like. You can't take it back off.
 Lay the paper onto the ink and then lift it up.
Check the results. If you want to do more you can. What really looks good is to let the first layer dry (you can use a heat tool to dry if you like) and then smooch again. This builds up the ink in layers.

Wipe the extra wet ink from the image itself.

Smear a second color on the freezer paper, spray with water again and smooch the image down. Clean the excess off the image with paper towel.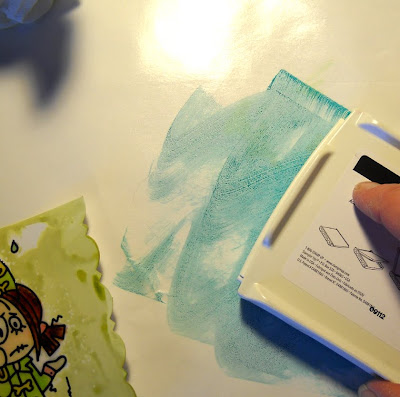
Now spray that with water and do the smooch and lift technique again.
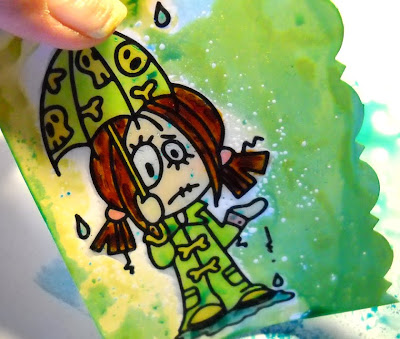 Now all you need to do is put it all together.

You can use this method on plain cardstock as well. Experiment and have fun.

Now spray that with water and do the smooch and lift technique again.
 Now all you need to do is put it all together.
You can use this method on plain cardstock as well. Experiment and have fun.


10 comments:
Great tutorial Melissa!
So...wanna adopt me and teach me how to do all this cool stuff? Amazing talent!! Truly!
Thanks for the tutorial! I look forward to trying this. ;-)
Wow great Tutorial I cant wait to try this out, great job Melissa
Wow! This is amazing!
This is a wonderful card and a super tutorial, THANKS!
very very cool Melissa!
OMG - This is so cool Melissa!!! Thanks so much for sharing it with us!!! :D
Oh this looks like fun, will have to give this a try. Great job with the tutorial. Thanks for sharing with us.
Ok, WOW!! I have never seen that before and now I HAVE to try it - it is AMAZING!! Great tutorial, thank you for this! I love those buttons too:)
I really like this, Melissa! Great job.
Post a Comment