Good Wednesday Morning all. Today is Tutorial Wednesday over at
Bugaboo and I have a Great one for you. I think. I love the results. A little bit ago I too the Tim Holtz Chemestry 101 online class and this is one of the techniques highlighted in the class. It uses the Tim Holtz Distress Stains. For the images I used
Bugaboo's Beautiful Blocks.
So first off here is a little preview of what I did.
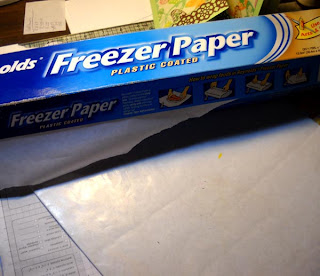
I don't have one of those neat beigh work mats for my work space but I have something that works just as well. I use Freezer paper (the shiney side) You just clean with a paper towel as you go. I made 6 of these from 12X12 pieces of chipboard covered with Freezer Paper to use in my classes.
Squeez out a puddle of Picket Fence Stain (this is the key ingredient) in the middle of the freezer paper and then add
your other color choices on the outside edges. You don't want to do too many or the results will get muddy looking.
Take your printed image and lay it face down and drag it through the stain, turn it over and see what you have. Drag, don't press it down. If there are white spaces, drag it again in those areas.
oops, this photo in the sequence isn't with an image. Once I get started on this stuff I tend to get carried away and have a ton of paper when I'm done. At this point you can use your heat gun to start drying it. Spray water onto the surface and see what it does. If you want more color pull it through again. Just remember to have a stack of paper handy so you can keep playing.
Here is another piece that I sprayed water onto the stain and pressed the paper on it and then added more stain to the freezer paper and pulled it through
This one is made using glossy paper.
I just kept adding layers until I had what I wanted.
The clear water sprayed on while you are using the heat tool makes some interesting patterns.
Here is the Image after staining it.
It looks like lava.
I ended up spraying the image with Perfect Pearls Mist. Such a cool iridescent effect.
Another image.
I sprayed the perfect pearls on this one too while it was still wet.
So here are the finished projects.
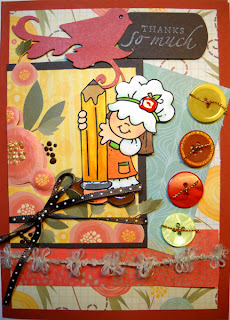
This is a card I made a while back, You can find it
here, and I have been wanting to do this tutorial since then. I sprayed the image with Perfect Pearls and Goosebumps. So much fun.
Well I hope you will give this a try soon and let me know how you like it. Send me a link to your project.


